
How to Clean Car Seats with Household Products
Disclosure: This page has affiliate links. If you buy through them, Autodetailguide.com may earn a commission at no extra cost to you. As an Amazon Associate, we earn from qualifying purchases.
Clean seats without buying a chemistry set
You can improve most cloth and many vinyl seats with stuff already in the house, plus a vacuum. Leather needs milder habits (more below).
This is maintenance, not a hospital sterilization protocol. Skip miracle “kills everything” claims.
How often? Be realistic
- Weekly: quick vac + wipe high-touch spots if you can
- Every 1–2 weeks: light interior tidy when you wash the exterior
- Monthly-ish: deeper seat clean when life allows
Daily life dumps crumbs, dust, and whatever was on the last bench you sat on into the car. You don’t need shame. You need a routine you’ll repeat.
What you’ll use (household + a few helpers)
Usually already home: vacuum, microfiber cloths or soft towels, mild dish soap (tiny amount), white vinegar (diluted), baking soda (odors), soft brush (old clean toothbrush), spray bottle, water.
Worth owning if you clean cars often: soft vac brush head, dedicated interior brush, quality microfibers.
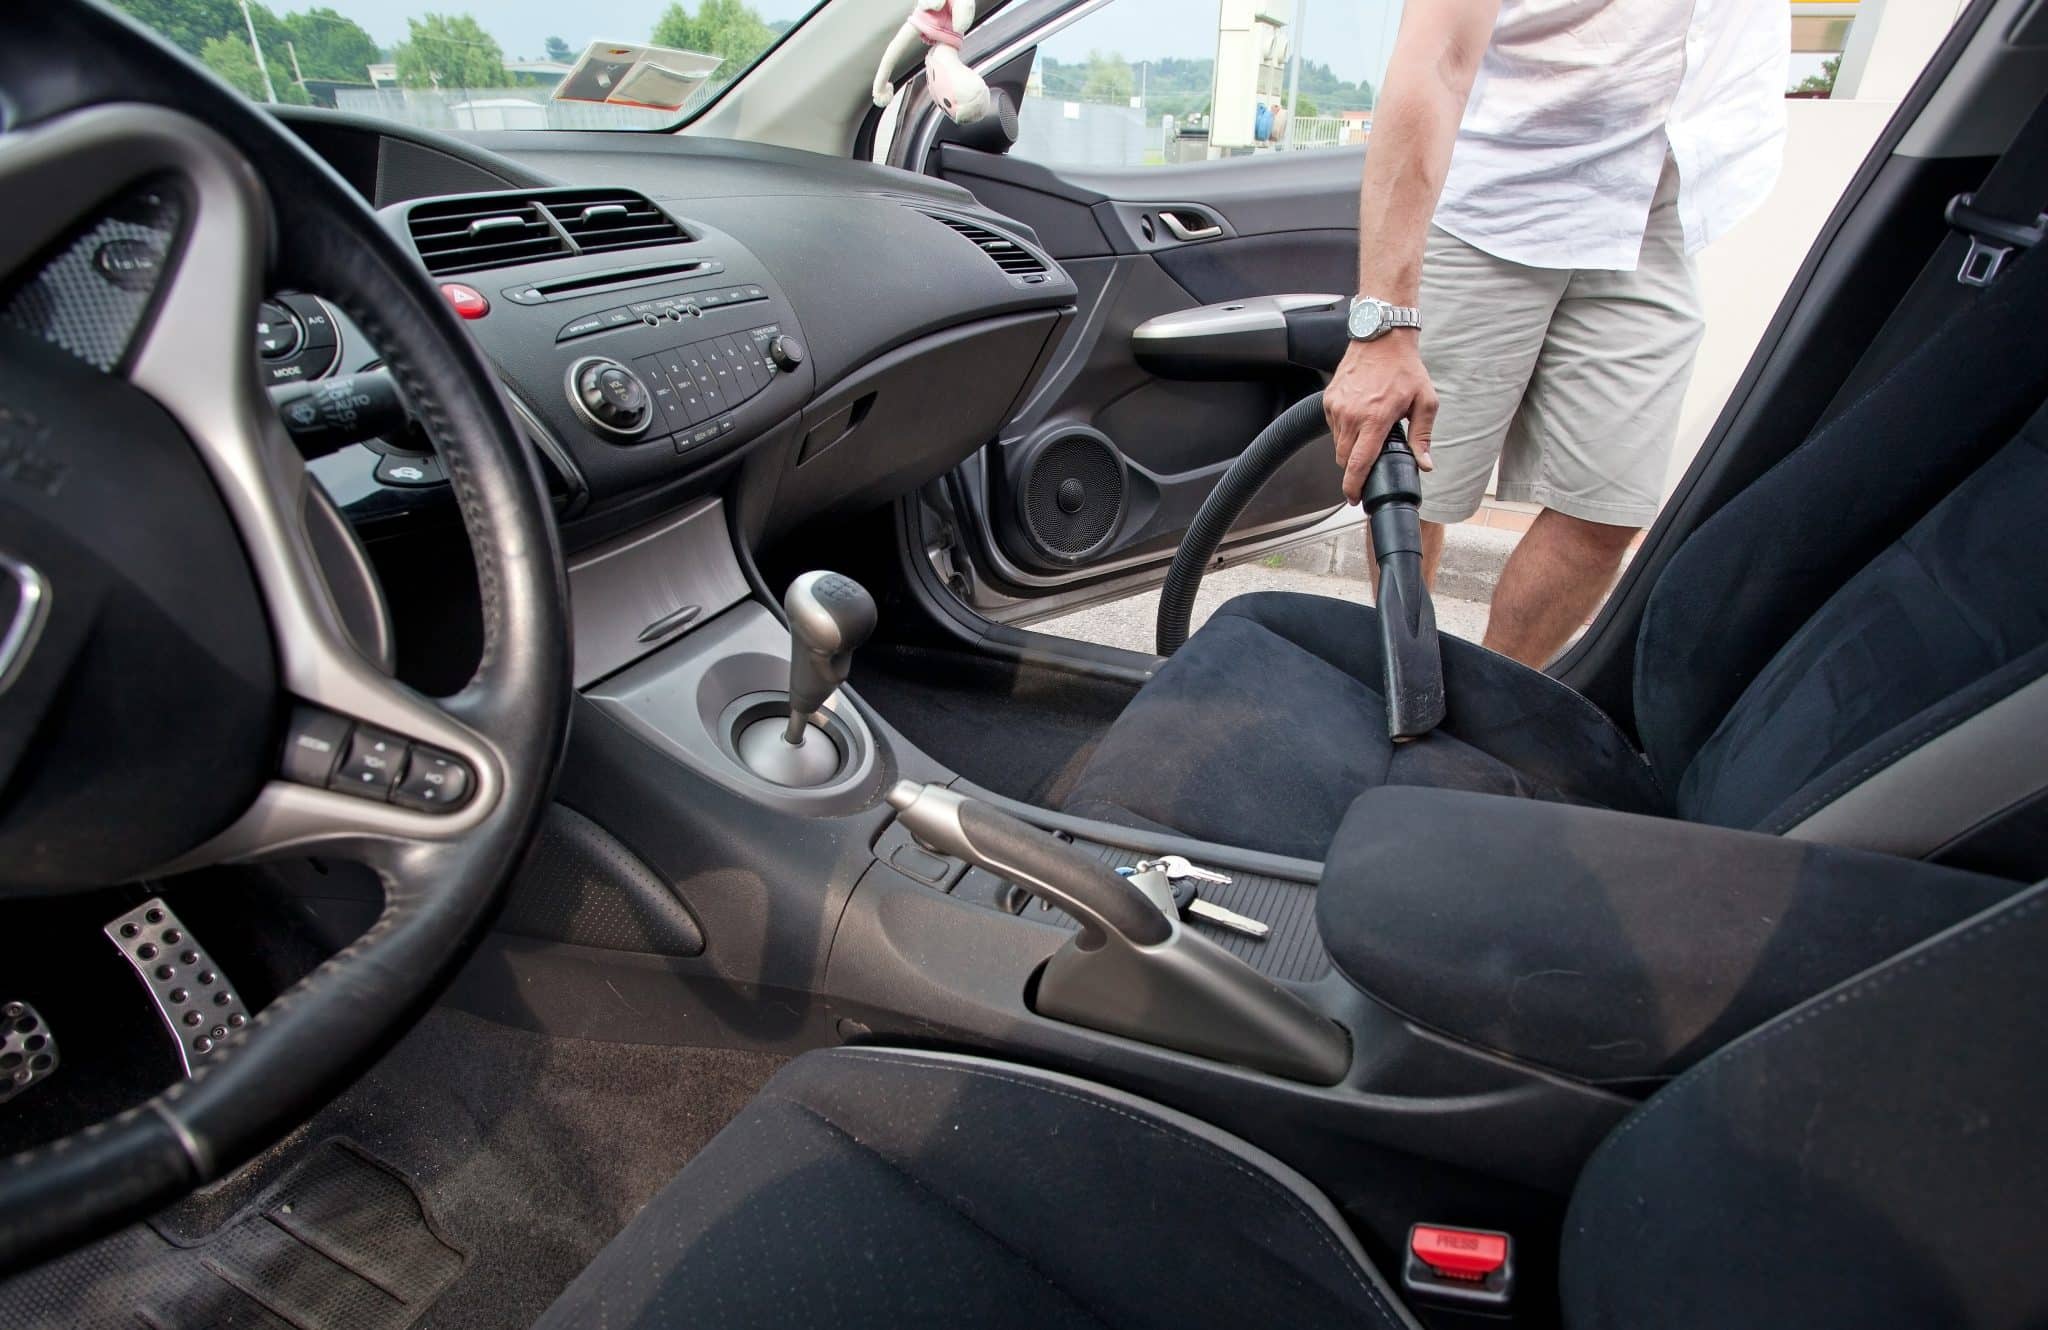
Step 1: Vacuum like it matters
- If using a shared car-wash vac, wipe the nozzle first.
- Seats before floors so you don’t drag floor grit onto fabric.
- Front seats → rear. Overlapping strokes.
- Pat/beat cushions to free dust, then vac again.
- Creases, under seats, between seat and console.
- Floors and edges last. Remove mats and do them separately.
Use a soft brush attachment on cloth and leather so you don’t scuff.
Step 2: Spot test
Hidden area first. Any mix of vinegar/soap/water can affect dye or coatings. If color transfers to your cloth, stop and use a dedicated cleaner designed for that surface.
Step 3: Cloth seats (household method)
- Mix a mild solution: warm water + drop of dish soap or ~1:1 water/white vinegar in a spray bottle (light mist, not a soaking).
- Mist a small section; agitate gently with soft brush.
- Wipe with clean microfiber; rinse cloth often.
- Blot. Don’t flood the foam. Excess water breeds odor.
- Optional: light baking soda sit for odors, then vac thoroughly when dry.
- Air-dry with windows cracked or doors open; keep kids/pets off wet seats.
Step 4: Vinyl / plastic trim on seats
Wipe with damp microfiber and mild APC or soapy water. Avoid soaking seams and switchgear. Dry completely.
Step 5: Leather (keep it gentle)
- Vacuum first.
- Wipe with slightly damp microfiber; use a leather-safe cleaner if you have one.
- Skip harsh vinegar mixes and abrasive brushes.
- Condition occasionally per product directions. Don’t overdo oily products that attract dust.
Steam & “disinfect” notes (careful)
Steam can help on cloth when used correctly, but heat + moisture can damage some materials and push water into foam. Lysol-style sprays are not a substitute for removing soil, and you must follow product labels around kids, pets, and enclosed cabins. No medical claims here.
Common mistakes
- Soaking the cushion foam
- One dirty rag for the whole cabin
- Brushing grit across leather
- Skipping the vac and jumping to wet cleaning
- Using strong degreasers meant for engines on seats
Safety
- Ventilate.
- Gloves if you have sensitive skin.
- Keep liquids away from airbags, motors in powered seats, and electronics.
- Never mix bleach with ammonia or vinegar.
Related guides
- Auto carpet cleaning
- Ozone odor removal (pro tool, safety critical)
- Home auto detailing tips
- Mobile starter kit (if you’re cleaning seats for customers)